How to Create an Interior Renovation Moodboard Without Leaving Your Home
Now that we all have to spend a lot more time at home and need things to fill our days, why not start planning your next interior renovation from the comfort of your sofa? It’s the perfect time to get crafty so why not give a real-life moodboard a go? With most of us no longer rushing around on our daily commutes, pinning ideas on Pinterest and saving posts on Instagram, we actually have a bit of time on our hands. So get creative, play around with ideas, colours, patterns and textures to see what will work best for your space. Not only will it keep you occupied for a little while, it’ll also hopefully keep your brain active!

Why you need a moodboard
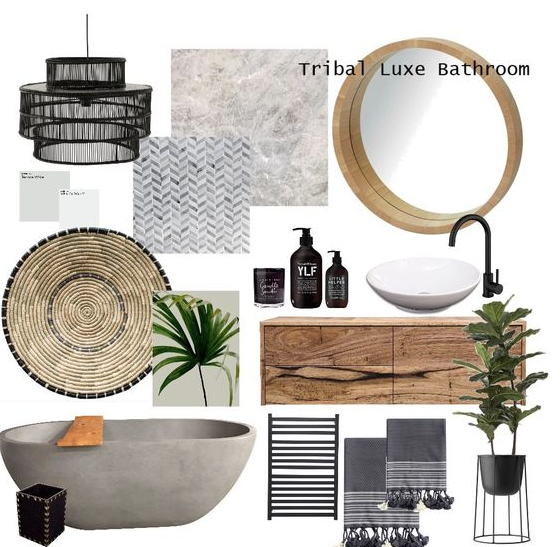
A moodboard is a crucial starting point in any interior design or renovation project. We all start out with tonnes of ideas in our mind of what we think we want our space to look like, however the process of creating a moodboard will help bring all your ideas together in one place. They’ll help you to narrow down your choices, allow you to see which products, colours and textures work well together, keep you on track and help you to decide your finishing touches, which will bring the interior scheme together. It’s also a great way to communicate your ideas with the people you live with. Stick to the plan and you’ll have a space that everyone in the household will be delighted with.
Do’s and Don’ts
Don’t expect your moodboard to only take a few minutes!
For a moodboard to be truly useful, you will need to spend a bit of time searching for inspiration, collecting cuttings and researching paint and fabric choices. To ensure you make the right decisions, it’s a process that requires quite a bit of back and forth and you will find yourself coming back to your moodboard and making changes here and there. It is not something to be rushed!
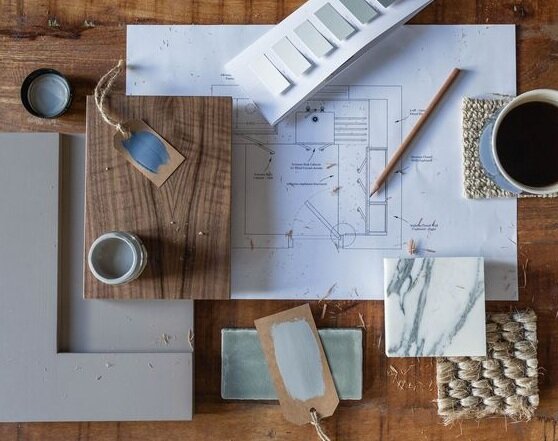
Do paint your colour swatches onto separate pieces of paper
We suggest not sticking anything down on your moodboard until you are certain you are happy with the final design, this includes painting directly onto your board. Paint colour swatches onto individual pieces of paper, so you can play around with different colours before deciding which you’re going to go for – then you can stick it down!
Don’t rely fully on digital
Yes we all jump on Pinterest when we’re thinking of re-decorating, and it’s packed full of ideas, however, it’s best to combine your Pinterest finds and a real-life moodboard. There are so many images of kitchens, bedrooms, bathrooms and living spaces that you’ll probably save and pin too many ideas and actually it won’t help you to refine your choices. It also doesn’t allow you to combine other colours, furniture and patterns together, so it can be very difficult to see the completed look and check if everything does actually work together.
Don’t forget…
You’ll need a printer, scissors, glue, a board or large sheet of white paper.

www.pinterest.com
So How Do I Start?
Step 1 – Gathering Ideas
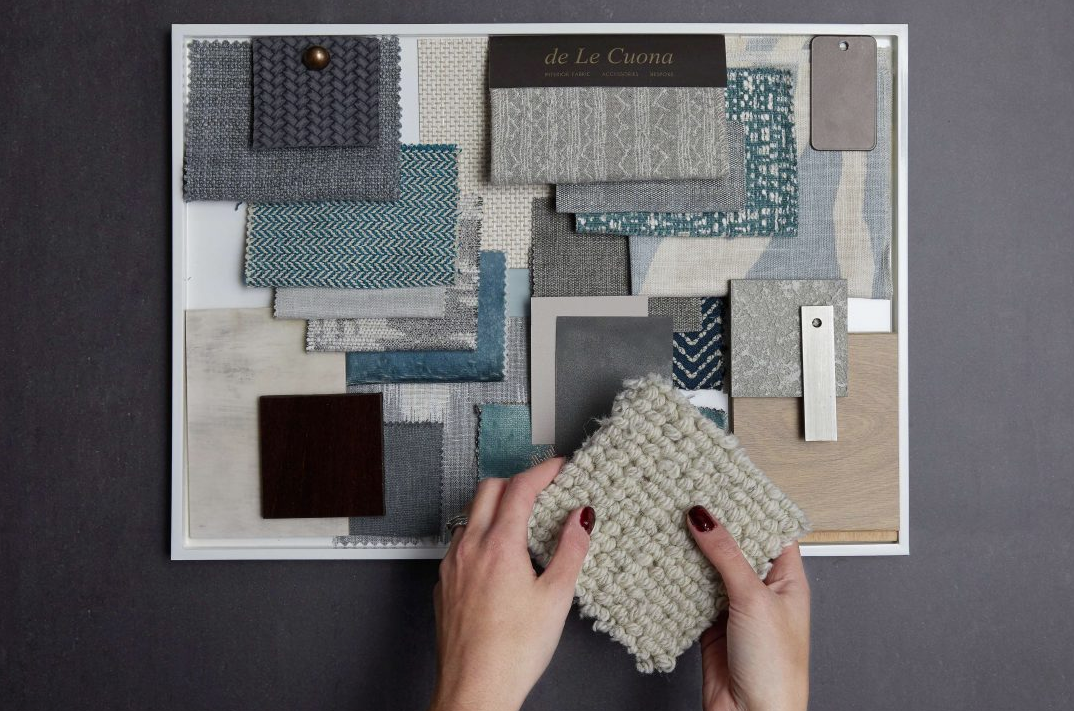
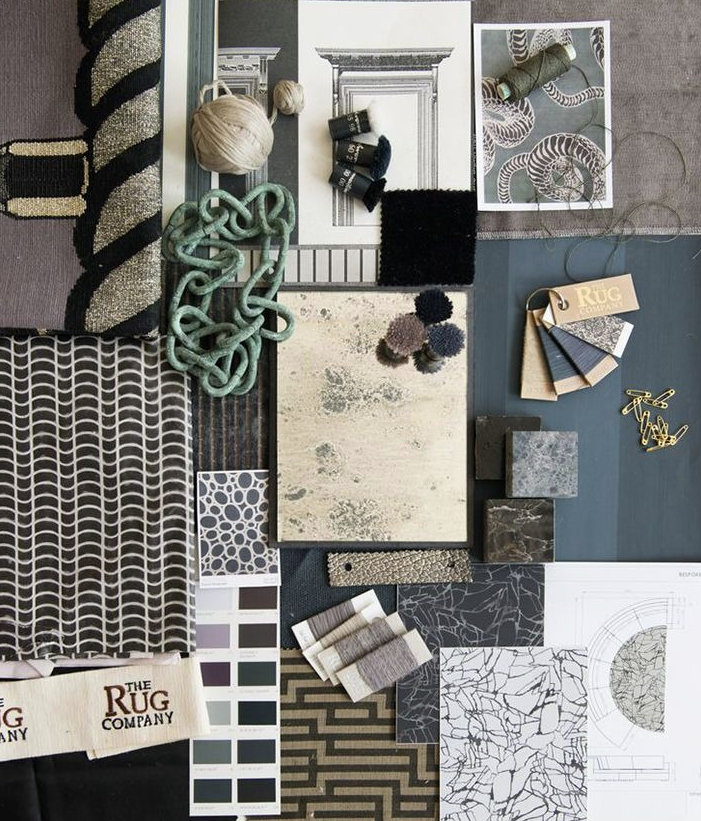
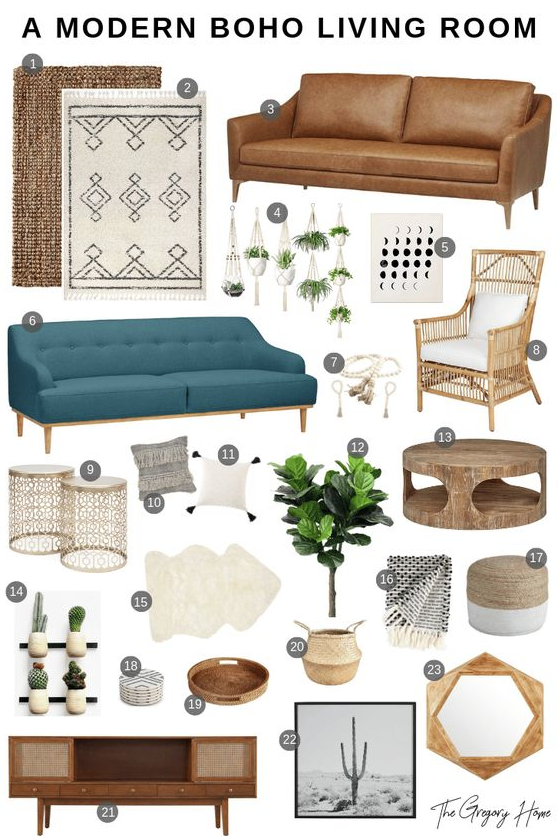
Start creating your moodboard by collecting images and bits and pieces that inspire you. We suggest starting with Pinterest. It’s packed full of interior inspiration, however it can be pretty overwhelming so it’s important to stay focused! It’s easy to add hundreds of pictures to your online board but this won’t help you refine your choices. We suggest approaching Pinterest in a slightly different way; find images of your favourite colours, fabrics, textures, furniture pieces and any particular design features that you’d like to incorporate into your home, go through them all, and be ruthless! Choose your favourites and print these out. If you have any magazines lying around, then go through these and cut out anything that catches your eye. Browse interiors websites, blogs, Instagram and even online art shops and print out images you come across that you like from here too. If you already own items that you’re inspired by, then take photographs of them and print these out.
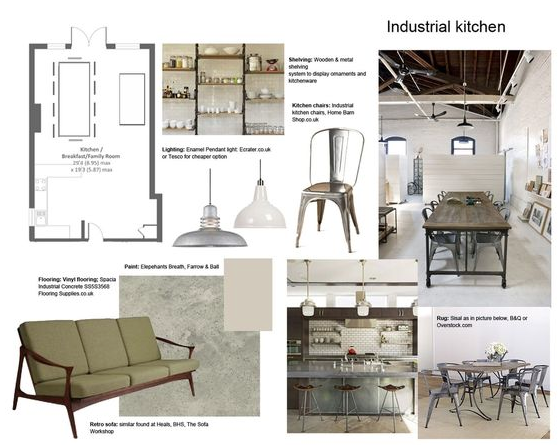
Step 2 – Designing your Moodboard
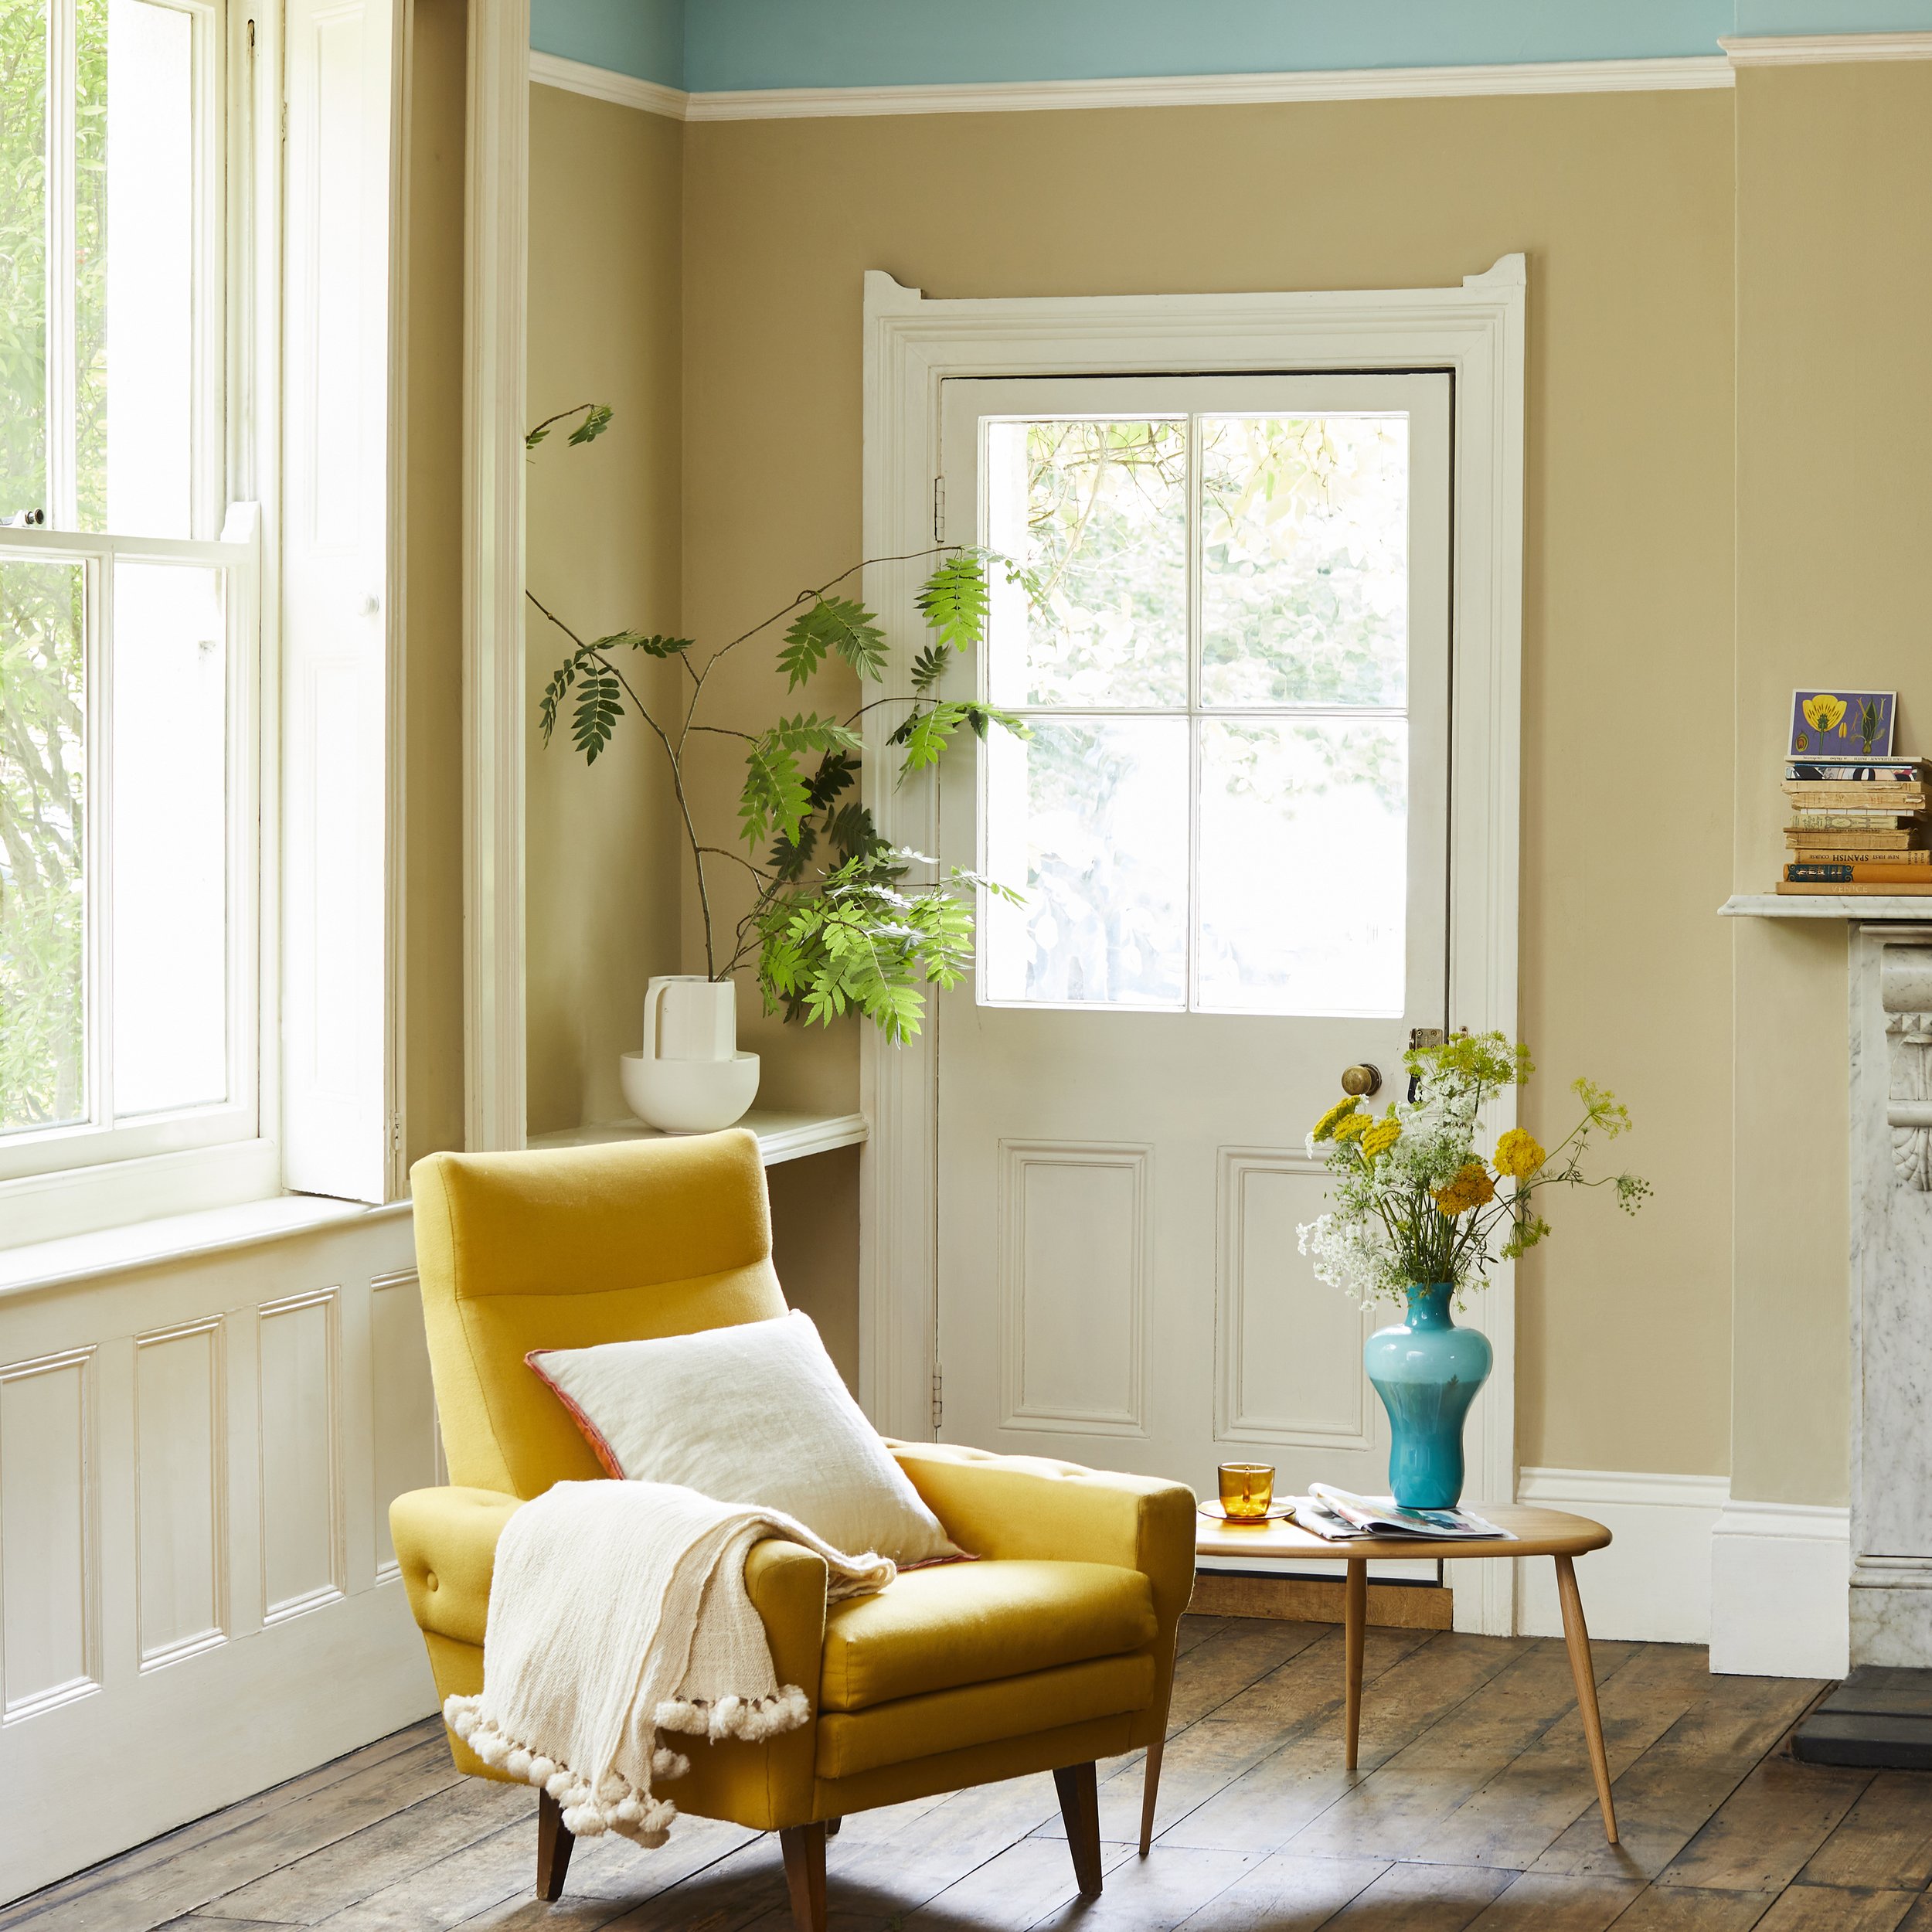
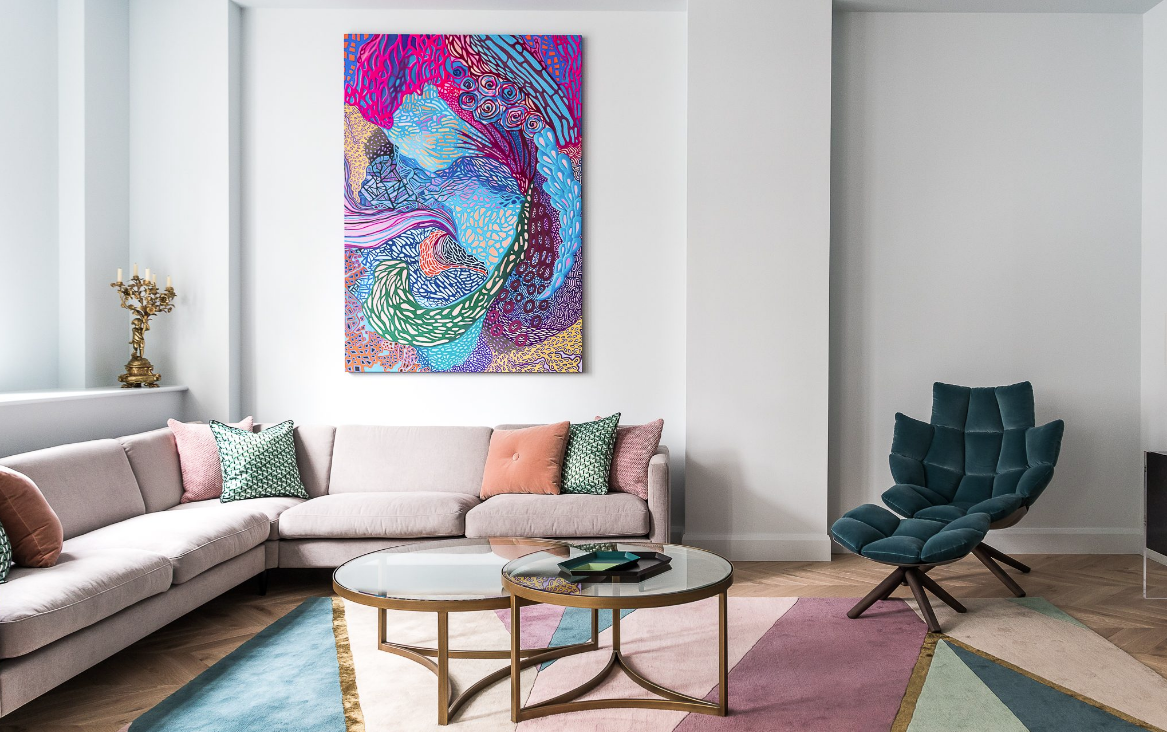
You might find that there’s a particular item your project hinges around, like a painting, sofa, or even a pair of decorative curtains. If this is the case, then place this image in the centre of your board, as this will form your starting point. Don’t stick it down just yet though, as you’ll want to make sure that your ideas work with it, try different images to see what looks good and brings everything together to form a cohesive interior. Play around with images, colours and patterns, try different combinations and don’t disregard anything as you may find you come back to it later. Don’t forget that you can take a break, often stepping away from something for a few hours and coming back to it with fresh eyes will help you make decisions.
www.thegregoryhome.com
Step 3 – Finalise your Design
Once you’re happy with your moodboard, it’s time to stick things down. Your plan is now final and once we’re allowed out again you can hit the shops to collect all the items you need to complete your project. Do keep referring back to your moodboard throughout your interior renovation project to keep you on track and help you achieve your dream interior.